

All products are independently selected by our editors. If you buy something, we may earn an affiliate commission. Learn More >
So you got yourself an AeroPress! Hurray! The AeroPress is a unique and wildly popular coffee maker loved by many for its simplicity and versatility.
But even this seemingly straightforward brewer can trip up newcomers with some common pitfalls.
As someone who made more than a few blunders when I first started using the AeroPress, I’ve learned that paying attention to some key details is crucial for unlocking its full potential.
In this quick guide, I’ll walk through some of the most common AeroPress mistakes and share tips on how to avoid them.
From getting the grind size right to nailing the pressing technique, these insights will help ensure you brew a richly flavored cup every time.
Are you ready to up your AeroPress game! Keep on reading.
First, Understanding The AeroPress
Before we get ahead of ourselves, let’s take a brief look at this pocket-sized coffee brewer.
The AeroPress consists of a few main components, and the brewing process leverages air pressure, which is very much like an espresso machine, making it different from most traditional methods, such as the French press or pour-over coffee.
Components and Functionality
The AeroPress has four main parts: the plunger, chamber, filter cap, and paper filters.
Each part plays a crucial role in brewing coffee.
- Plunger: This part pushes air through the chamber to extract coffee.
- Chamber: Where you put coffee grounds and water.
- Filter Cap: Holds the filter in place at the bottom of the chamber.
- Paper Filters: These trap coffee grounds and allow liquid to pass through.
The device is designed to be compact and portable, and you can quickly disassemble and clean it, making it the perfect companion when you’re away from home.
The unique design of the AeroPress also gives you complete control over brewing time and pressure, letting you experiment with different techniques and recipes on the fly.
Brewing Principles
Ok, so next brewing. Brewing with an AeroPress involves a few key principles. You add ground coffee and water to the chamber. Then, you use the plunger to force air through the mixture, which extracts the coffee.
First, start by choosing the right coffee grind. A grind edging more toward the finer end usually works best with the AeroPress.
Measure your coffee and adjust the ratio to your preference. Pre-wet your filter to remove any paper taste and to help it stick to the cap.
Next, add hot water – around 200°F (93°C) – to the chamber and stir. Be consistent with your water temperature to ensure even extraction. After allowing the coffee to steep for about 30 seconds to a minute, attach the plunger and press down steadily.
The air pressure pushes the coffee through the filter, resulting in a clean, strong cup of coffee.
Adjust the brewing time, grind size, and water ratio until you find your perfect cup.
It’s this flexibility that is why many coffee enthusiasts love the AeroPress.
So now you have a good overview of the basics, let’s take a closer look at perfecting each step of the AeroPress brewing process in more detail.
Nail these steps, and I guarantee you won’t be making any rookie mistakes!

1. Grind Size and Consistency
When using an AeroPress, grind size and consistency are crucial for brewing a perfect cup of coffee every time.
And the right grind size can affect both the extraction process and the final taste.
Choosing the Right Grind
Ok, as I’ve already touched on choosing the correct grind size is essential for AeroPress brewing.
A medium-fine grind is typically recommended. For reference, this grind size is similar to table salt.
Using a burr grinder is the best way to achieve this. Burr grinders allow for precise adjustments. If you are on a tight budget, take a look at these best burr coffee grinders under $100.
For instance, the Baratza Encore can be set to 10-16. This range works well for AeroPress.
If your grind is too fine, your coffee may taste bitter. On the other hand, if it’s too coarse, your coffee may taste weak.
Impact of Grind on Extraction
The grind size affects the extraction process significantly. If you grind your coffee too finely, it can lead to over-extraction, making your coffee taste bitter.
This happens because fine grounds expose more surface area to water, drawing out more compounds.
Conversely, too coarse of a grind can result in under-extraction.
Under-extracted coffee tastes sour or weak because the water doesn’t extract enough flavors.
For the best results, aim for a uniform grind where each particle is the same size – as I mentioned before, a burr grinder can really help with this.
Uniform grind sizes ensure that all coffee grounds extract evenly.
This leads to a more balanced cup of coffee. Making small adjustments to your grind size can help you perfect your brew.
Remember, the key is to find the right balance. Experiment with slight changes until you get the taste you love.
2. Water Temperature and Quality
Getting the water temperature and quality right is key to making the perfect AeroPress coffee.
Just keep in mind that these elements can greatly affect the flavor and extraction process in any coffee brewing method.
Ideal Water Temperature
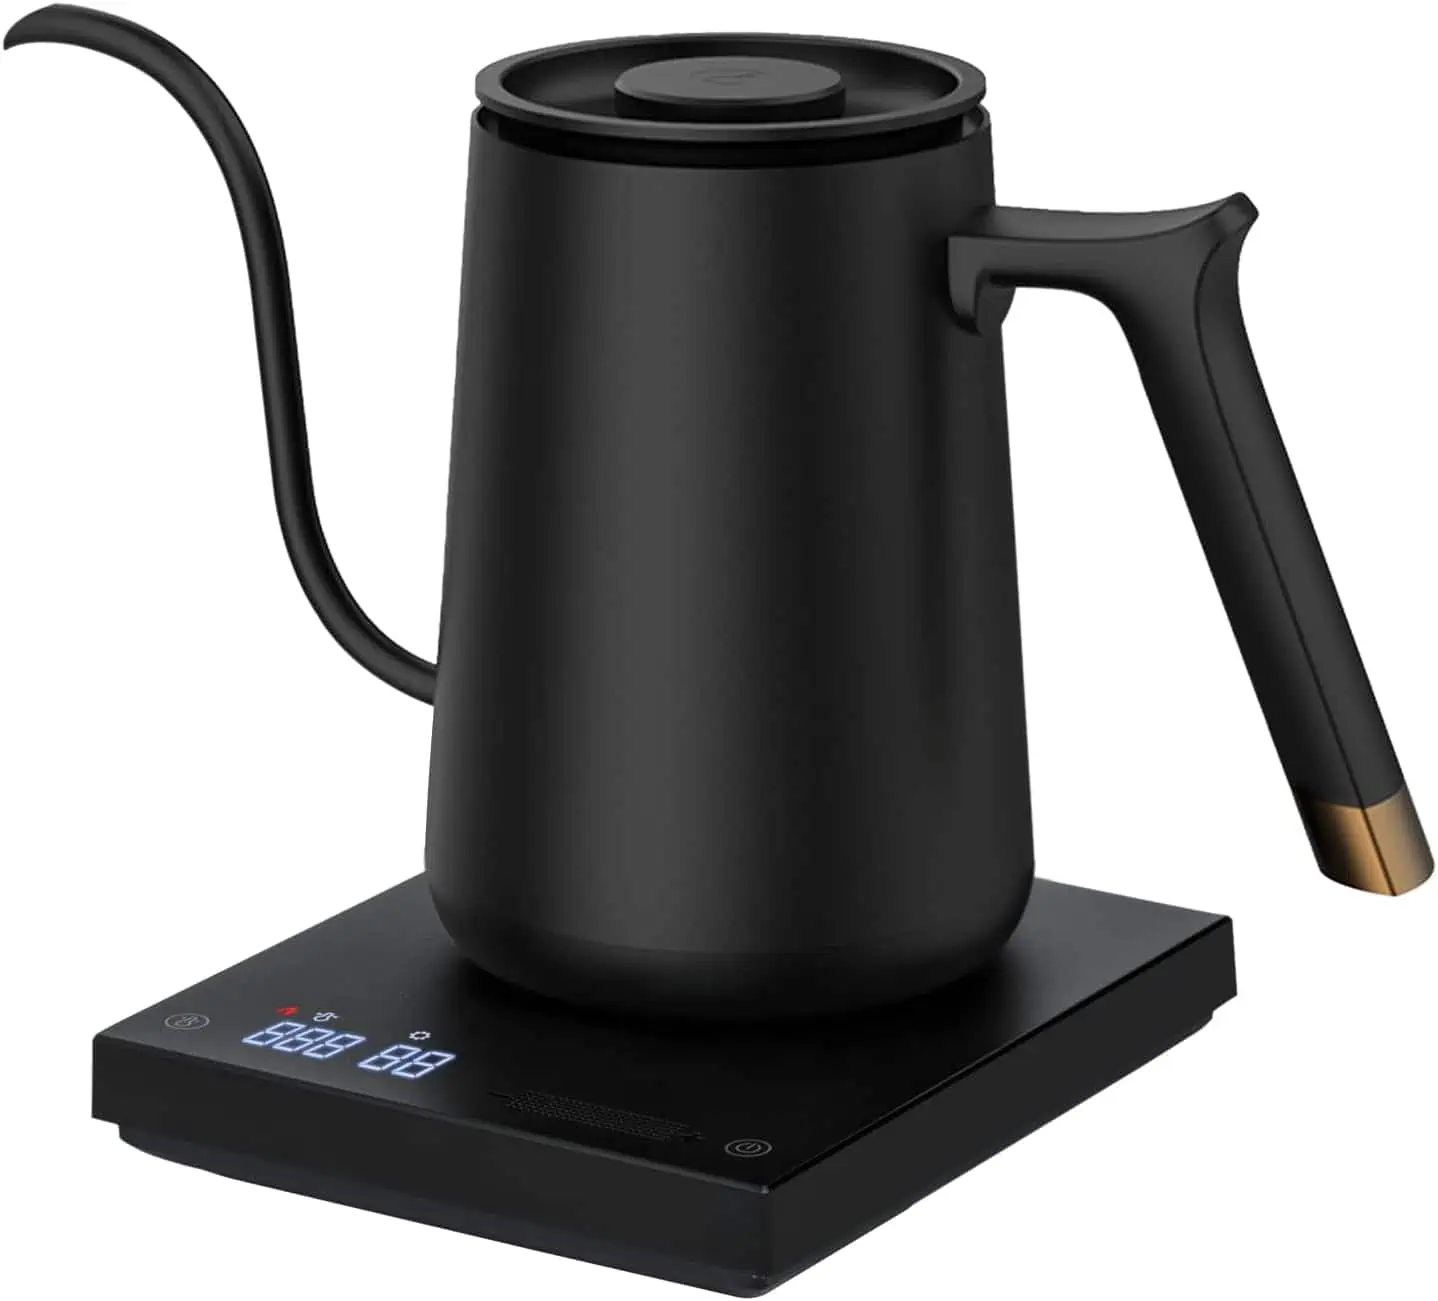
The temperature of the water you use can make or break your AeroPress coffee. For best results, aim for a temperature between 195-205°F (90-96°C).
Water that is too hot can lead to over-extraction, which brings out bitter flavors.
On the other hand, water that’s too cold may cause under-extraction, leaving your coffee tasting weak and lacking depth.
Using a thermometer or a temperature-controlled kettle can ensure you consistently hit the right temperature range.
Top Pick
We earn a commission if you make a purchase, at no additional cost to you.
I recommend experimenting within this range to find the sweet spot that best suits your taste.
Remember, small adjustments can make a big difference in flavor.
Effects of Water Quality
The quality of the water is just as important as the temperature. Pure water can lead to a purer, more enjoyable cup of coffee.
Minerals and impurities in the water can alter the taste, sometimes in ways you might not expect.
For instance, tap water with a high chlorine content can leave an off-putting taste.
Using filtered water is a good practice to ensure you get the best taste possible. I suggest using bottled spring water for its consistent quality.
Keep in mind that too much purification, like using distilled water, can also affect the flavor negatively. The goal is to find a balance where the water enhances rather than diminishes the coffee’s natural taste.
By paying attention to these factors, you’ll be on your way to brewing a superior cup of AeroPress coffee every time.
3. Coffee-to-Water Ratio
Getting the coffee-to-water ratio right is also crucial for brewing great AeroPress coffee.
This balance affects the strength, flavor, and overall experience of your cup.
Measuring Coffee
It’s important to start with accurate measurements. Most AeroPress recipes call for using grams when measuring coffee.
However, If you’re just starting out and you don’t have a scale, you can use tablespoons – although I wouldn’t recommend it for long-term consistency.
The general rule of thumb is one to two tablespoons of coffee for every six ounces of water.
A common ratio for AeroPress is 1:16, meaning 1 gram of coffee to 16 grams of water.
For example, if you’re using 15 grams of coffee, you’d use 240 milliliters of water. Using too much coffee can make it overly bitter, while too little might make it weak.
Always use freshly ground coffee for the best results. Pre-ground coffee loses its flavor quickly. So as soon as you can, invest in a good grinder to ensure you get the most out of your beans.
For more advanced guidelines on coffee-to-water ratios, you can read further here: coffee-brewing-ratios-explained. This article provides detailed information on getting the perfect balance for your brew.
4. Pressing Technique
Getting the pressing technique right is key to making the best AeroPress coffee.
Next, we’ll look at how the speed and pressure you use when pressing can affect the flavor of your brew.
Speed and Pressure
Speed
Pressing too quickly can lead to a rushed process that doesn’t extract the full flavor of the coffee grounds. A slower press allows for a more thorough extraction.
Aim to press down slowly, taking about 20-30 seconds.
Pressure
Pressing gently is important. Applying too much force can compress the coffee grounds, which slows the water flow and can result in a bitter taste.
Use a steady but gentle pressure to get a smoother, sweeter cup. Inventor Alan Adler advises this gentle technique for the best results.
5. Cleaning and Maintenance
Keeping your AeroPress clean ensures a fresh cup of coffee every time and extends the lifespan of your brewer.
In this section, I’ll cover the best practices for both regular cleaning and long-term maintenance.
Regular Cleaning
Regular cleaning after each use is crucial. Start by disassembling your AeroPress into its parts: plunger, chamber, filter cap, and filter.
Remove the used coffee grounds and rinse each part under running water. A soft cloth or sponge can help remove any remaining residue.
Every few uses, it’s good to give the rubber plunger a more thorough scrub. This can be done by carefully removing the rubber section.

Pay attention to the areas where coffee oils can build up. If you notice persistent stains, you can use mild dish soap and a small brush to get those hard-to-reach areas clean.
Once done, leave all parts to air dry on a clean towel.
Avoid the dishwasher unless necessary. If you do use it, place all parts on the top rack to avoid warping.
Long-Term Preservation
For long-term maintenance, deeper cleaning is necessary periodically. Every month or so, consider a deep clean using hot water and white vinegar. Fill a pot with water, add one cup of white vinegar, and bring it to a boil.
Disassemble your AeroPress and place the parts into the boiling mixture. This process helps remove stubborn residue and coffee oils.
If you use a metal filter, soak it in the vinegar solution or scrub it with a soft brush to ensure it’s thoroughly clean.
Storing your AeroPress properly also contributes to its longevity.
Make sure all parts are completely dry before reassembling and storing them in a cool, dry place.
This prevents mold and deformation of the rubber seal.
By following these steps, you’ll maintain the quality and efficiency of your AeroPress, ensuring delicious coffee for years to come.
Wrapping Up
Mistakes are common when you’re just starting with an AeroPress. Learning the right steps can make a big difference.
Remember to use the right water temperature. Too hot or too cold can affect the taste. Measure your coffee and water carefully. This helps you control the brew.
Stir the grounds properly. This ensures even extraction. Keep your AeroPress clean. Residue can impact flavor.
Experiment with different recipes. Find what works best for you. But most of all, just have fun with it.
Got a question? Leave a comment below.